 In my last blog post, I shared information about a really cool discbound notebook for organizing your story and I got such an overwhelming response! I’m so glad you’re as excited about this system as I am. You must know by now how much I love writing tools so it’s fun to be able to share the ones that work well for me…which is also what I plan to do today. If you feel like the discbound system (held together by discs with moveable and removable pages) is one that will work well for you–or maybe you’ve already tried it and discovered that it is–then you’re going to love this addition to your writing life!
As hard as being a writer is in and of itself, I think the harder part of being a writer is keeping yourself organized, scheduled, and productive. Especially if you have taken your writing career to the next level and have to keep track of deadlines, promotion, blogs, social media, events, etc., etc. It really is a full time career even if it isn’t your full time career, and when you add that on top of a day job, family responsibilities, and actually being a social human being, it can be pretty overwhelming.
Why the Discbound Planner
I’ve searched for years for the best system to stay on top of all these responsibilities (even though I’m not yet a published author, I’ve been running this blog for 8 years!) and I found a lot of qualities I loved in the Passion Planner, which I’ve blogged about before. For some of you this might still be a great system, but for me, I struggled with the 30 minute scheduling grid when, as a work-from-home-mom, I tend to work more in chunks than exact times and instead of meetings, I have to-do lists. But I loved the way the Passion Planner helped me get focused on my big picture goals and break them down into monthly and weekly chunks, so I didn’t want to lose that.
One other important function I wanted from my next planner system was the ability to add in pages when I was working on a project. For instance, I often teach workshops and in order to keep my ideas in one place and have a project-specific to-do list, I wanted to be able to plug in pages for the current week or month to have it easily accessible. This was not an small request, it turned out. I looked at a lot planners before I finally came across the one I ended up with, and when I did, it was pure heaven!
Yes, I really am that ridiculous about office supplies.
My Happy Planner
As before, I’m going to take you on a tour of how I use my planner, but first the details: it is called The Happy Planner by Create 365. I got mine at Hobby Lobby and, using their ever-available 40% coupon, got it for less than $20. They also have a lot of cute add-ins like stickers, bookmarks, sticky notes, cover packs and more. If you want it to be, it can be a fun creative outlet in and of itself! I mostly use mine for functionality, though, and now I’m going to show you how.
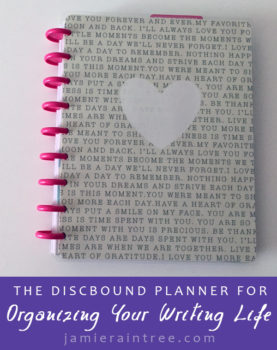
In the picture at the top of this post, you can see the cover of my Happy Planner. The planner itself comes with a cute cover but this one comes from the cover pack I purchased. Other Happy Planner users have figured out to create their own covers using a laminator, which I think is so cool and maybe one day I will have the patience figure it out for myself.
Once inside the cover, though, I have all of my organizing/decorating tools that fit into the planner, like my sticky notes and bookmarks. It’s so nice to have them slip right onto the discs so I always have them with me! And if you buy the Create 365 brand products, they are made to perfectly fit inside the planner blocks, but you can use whatever you find at craft stores or office supply stores to enhance your planner. Etsy also has an awesome collection of pretty additions!
Just behind the sticky notes, I’ve created my own “big picture” section using the Create 365 lined pages I bought in a pack to go with my planner. Pictured is the Year-at-a-Glance I created for myself since I’m such a visual person. Rather than flipping through and looking at each month as I plan my year, it’s nice to have it all on one page for a quick reminder and reorganizing when necessary. As you can see, I use a pencil on this part, because it can change at a moment’s notice! Other sheets I created in this area is my year goals for each area of my life such as books, promotion, my writer’s group, money, and personal goals. I also have my ideal week outlined (if you’d like a free copy of my Time Blocking worksheet to create your ideal week, you can get it for free by subscribing to my newsletter!). I like having all of these at the front so I can easily stay focused on the big picture.
Next is the simple month layout–pretty standard. I like the sturdy tabs that make it easy to flip to.
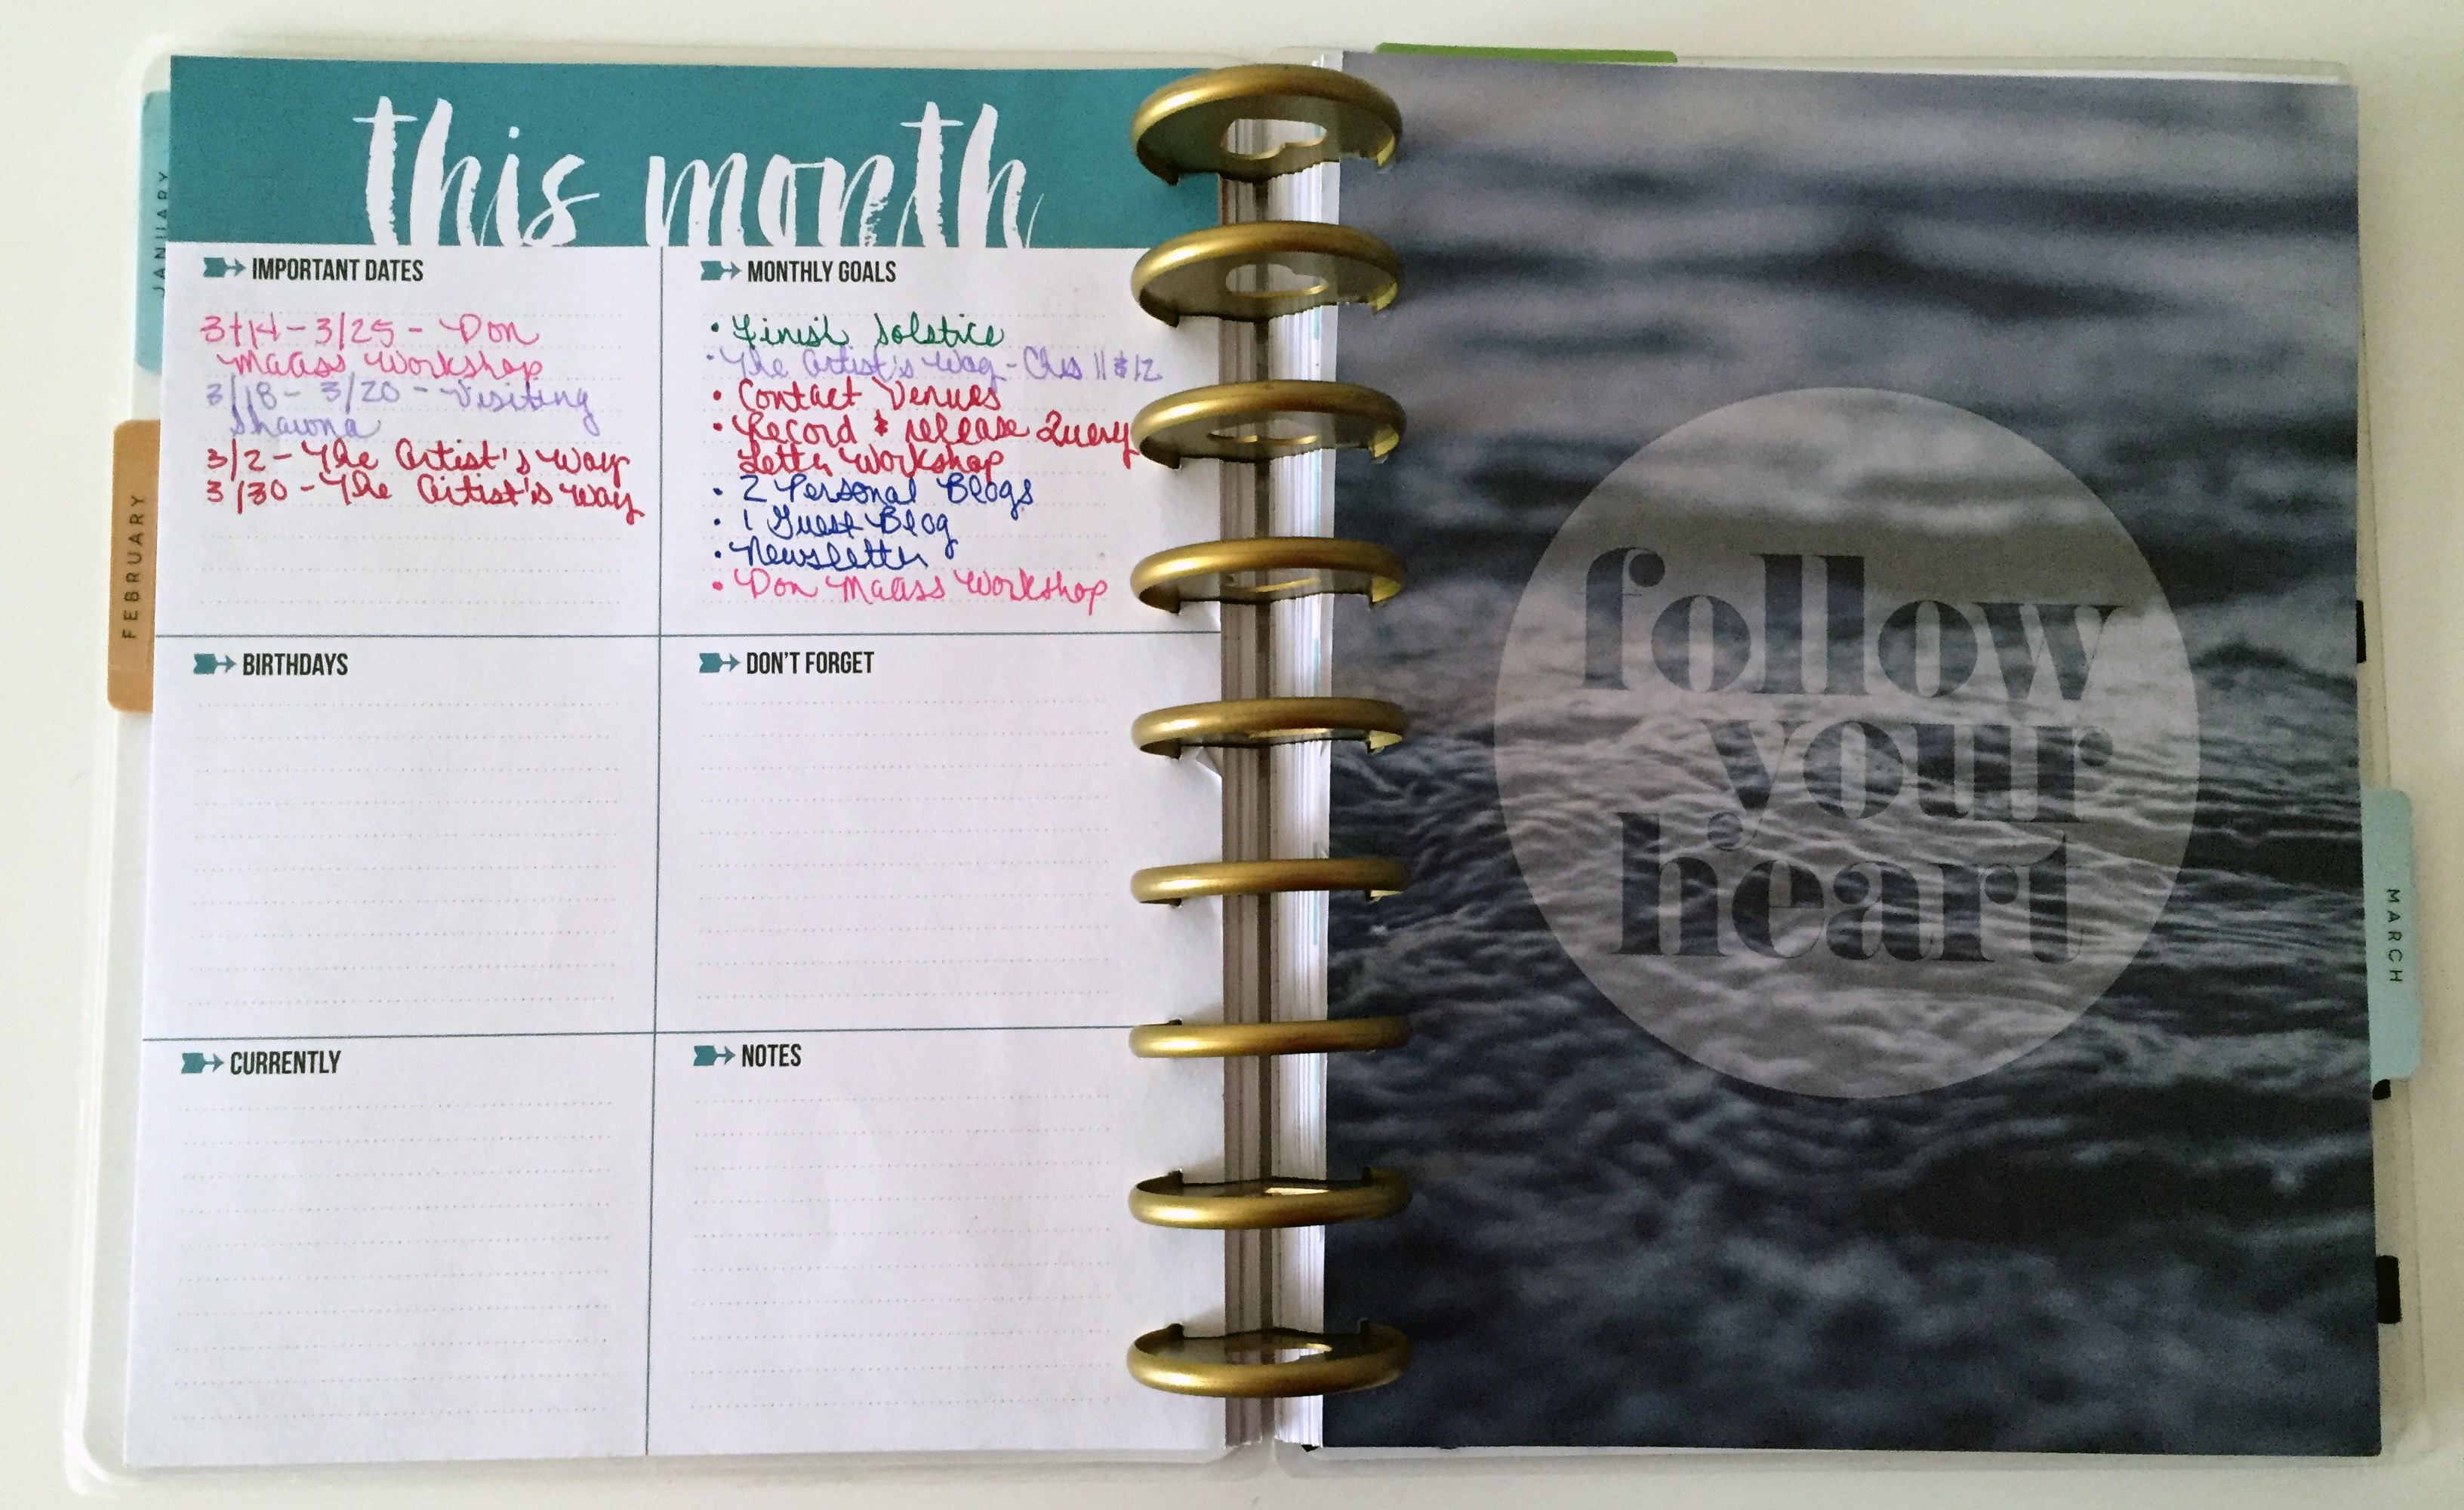
If you flip to the other side of the month page, though, that’s where it gets exciting! Here you are able to write down important dates, goals for the month, notes, what you’re currently working on, things you don’t want to forget and birthdays for the month. A great way to see the month at a glance and to stay focused on what you want to accomplish!
Lastly is the week layout itself and it’s perfect if you’re like me and focus more on to-dos than actual meetings. I love that it starts on Monday, which seems like a simple thing but my brain truly does restart on Monday and it’s always a pain in the butt to have to flip back and forth between one week and the next with a split weekend. I also love that the days are split into sections rather than times. I naturally work in Morning, Afternoon, and Evening chunks, typically doing writing business in the morning, the actual writing in the afternoon, and family stuff in the evening. So, using a color-coordinated system I write in my tasks based on the type of activity so I can easily see what I need to accomplish this week in each category (i.e. Red for Writing Business, Green for Writing, Orange for Family, etc.). There’s also a section to the left for notes, which I use to write down my to-do list for the week in case I’m not sure exactly which day/time I’ll get to it. But you could use it however you want!
One other cool thing I’ve been able to do is print out the schedule from a conference I will soon be attending, trim it to fit, hole punch it, and add it in. You could print anything else you want to include and even design your own templates, which is something I’d like to do in the future.
Overall, this planner has worked better for me and my needs than any other and I think it might just work for you too. I have to say that the best part about using the discbound system for both my planner and my story notes is that I can crossover my accessories–I’ve used my Portable Hole Punch for both, switched discs between the two and shared sticky notes and tabs. Plus, having such pretty tools to work with makes me even more excited to actually use them, which is the real trick, isn’t it?
What planner do you use? Do you think The Happy Planner would work for you? Have you tried the discbound story notebook yet?


Jamie, this is even AWESOME! Is that a word? Never mind, doesn’t matter!
I bought the 250 page rings for my writing project, and I’m actually
going to incorporate elements of this into the writing project discbound
because I’m all about not having TOO many things to keep track of. If I
start writing something in one place where I have to double back to
find a reference in another place, soon all I’m doing is shuffling files
and notebooks – it’s a stall tactic. I know that about myself. I’m
discovering through this process as well that I’m ALL about removing,
physically if possible, any excuse (becuase really, that’s what they
are) I have to waste all the precious moments I have where I could be
creating 🙂
That’s such a great idea! I can’t wait to see it when you get it all set up!